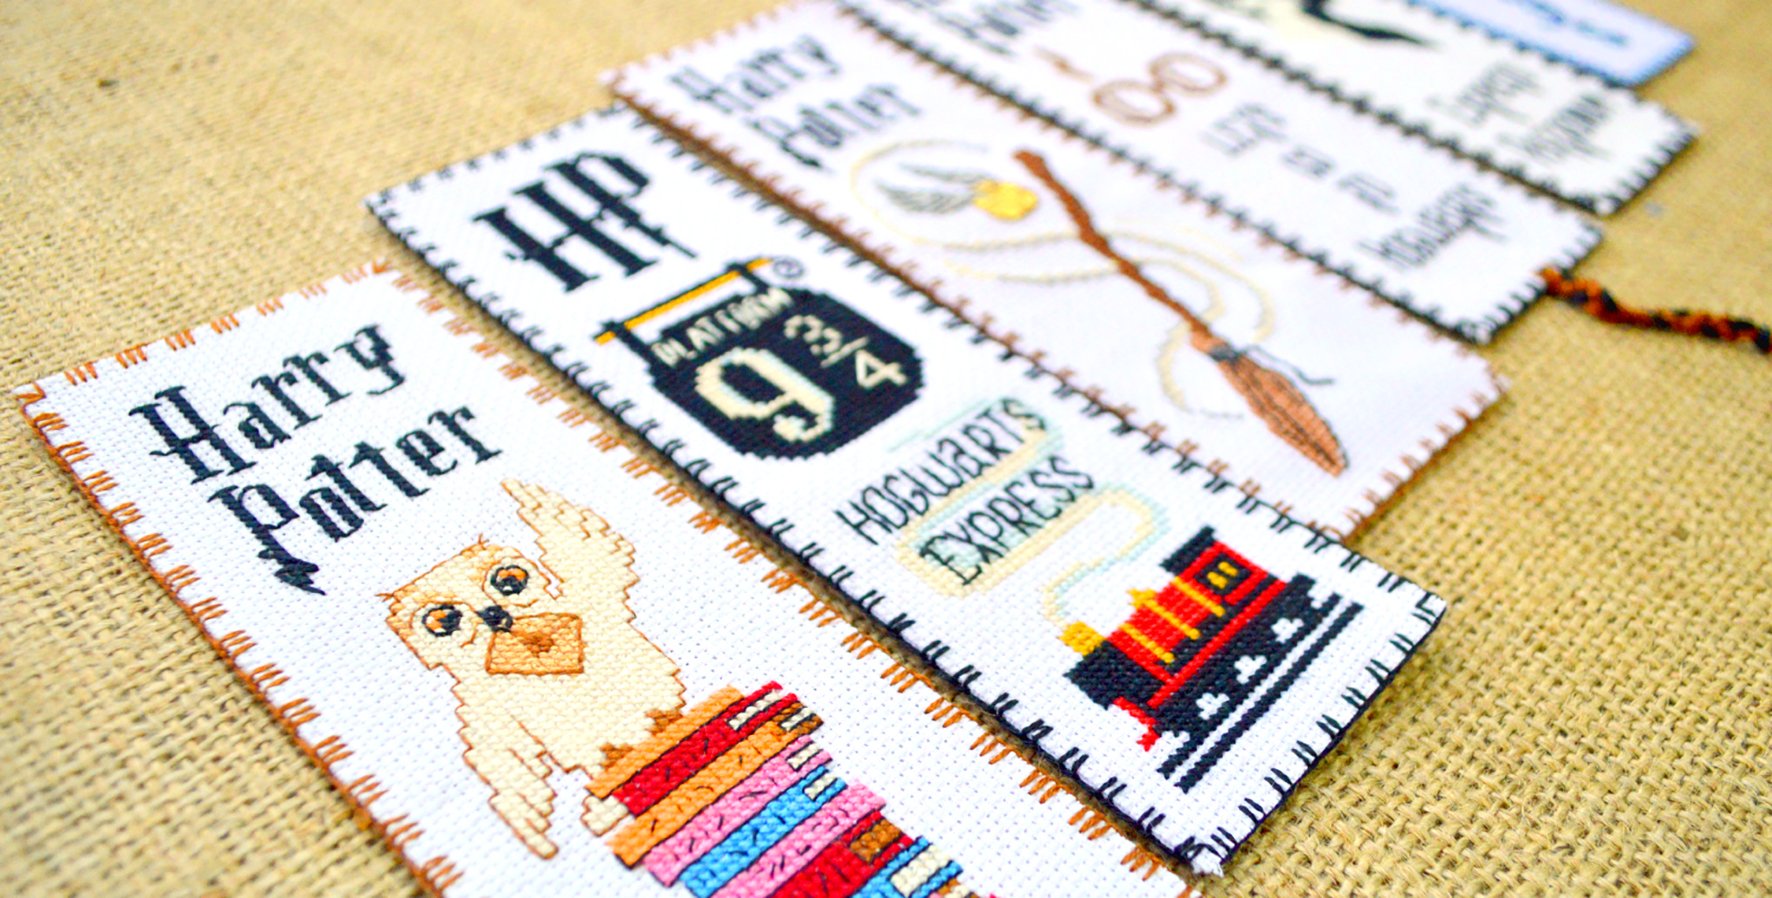
We will walk you through the process of making an embroidered bookmark
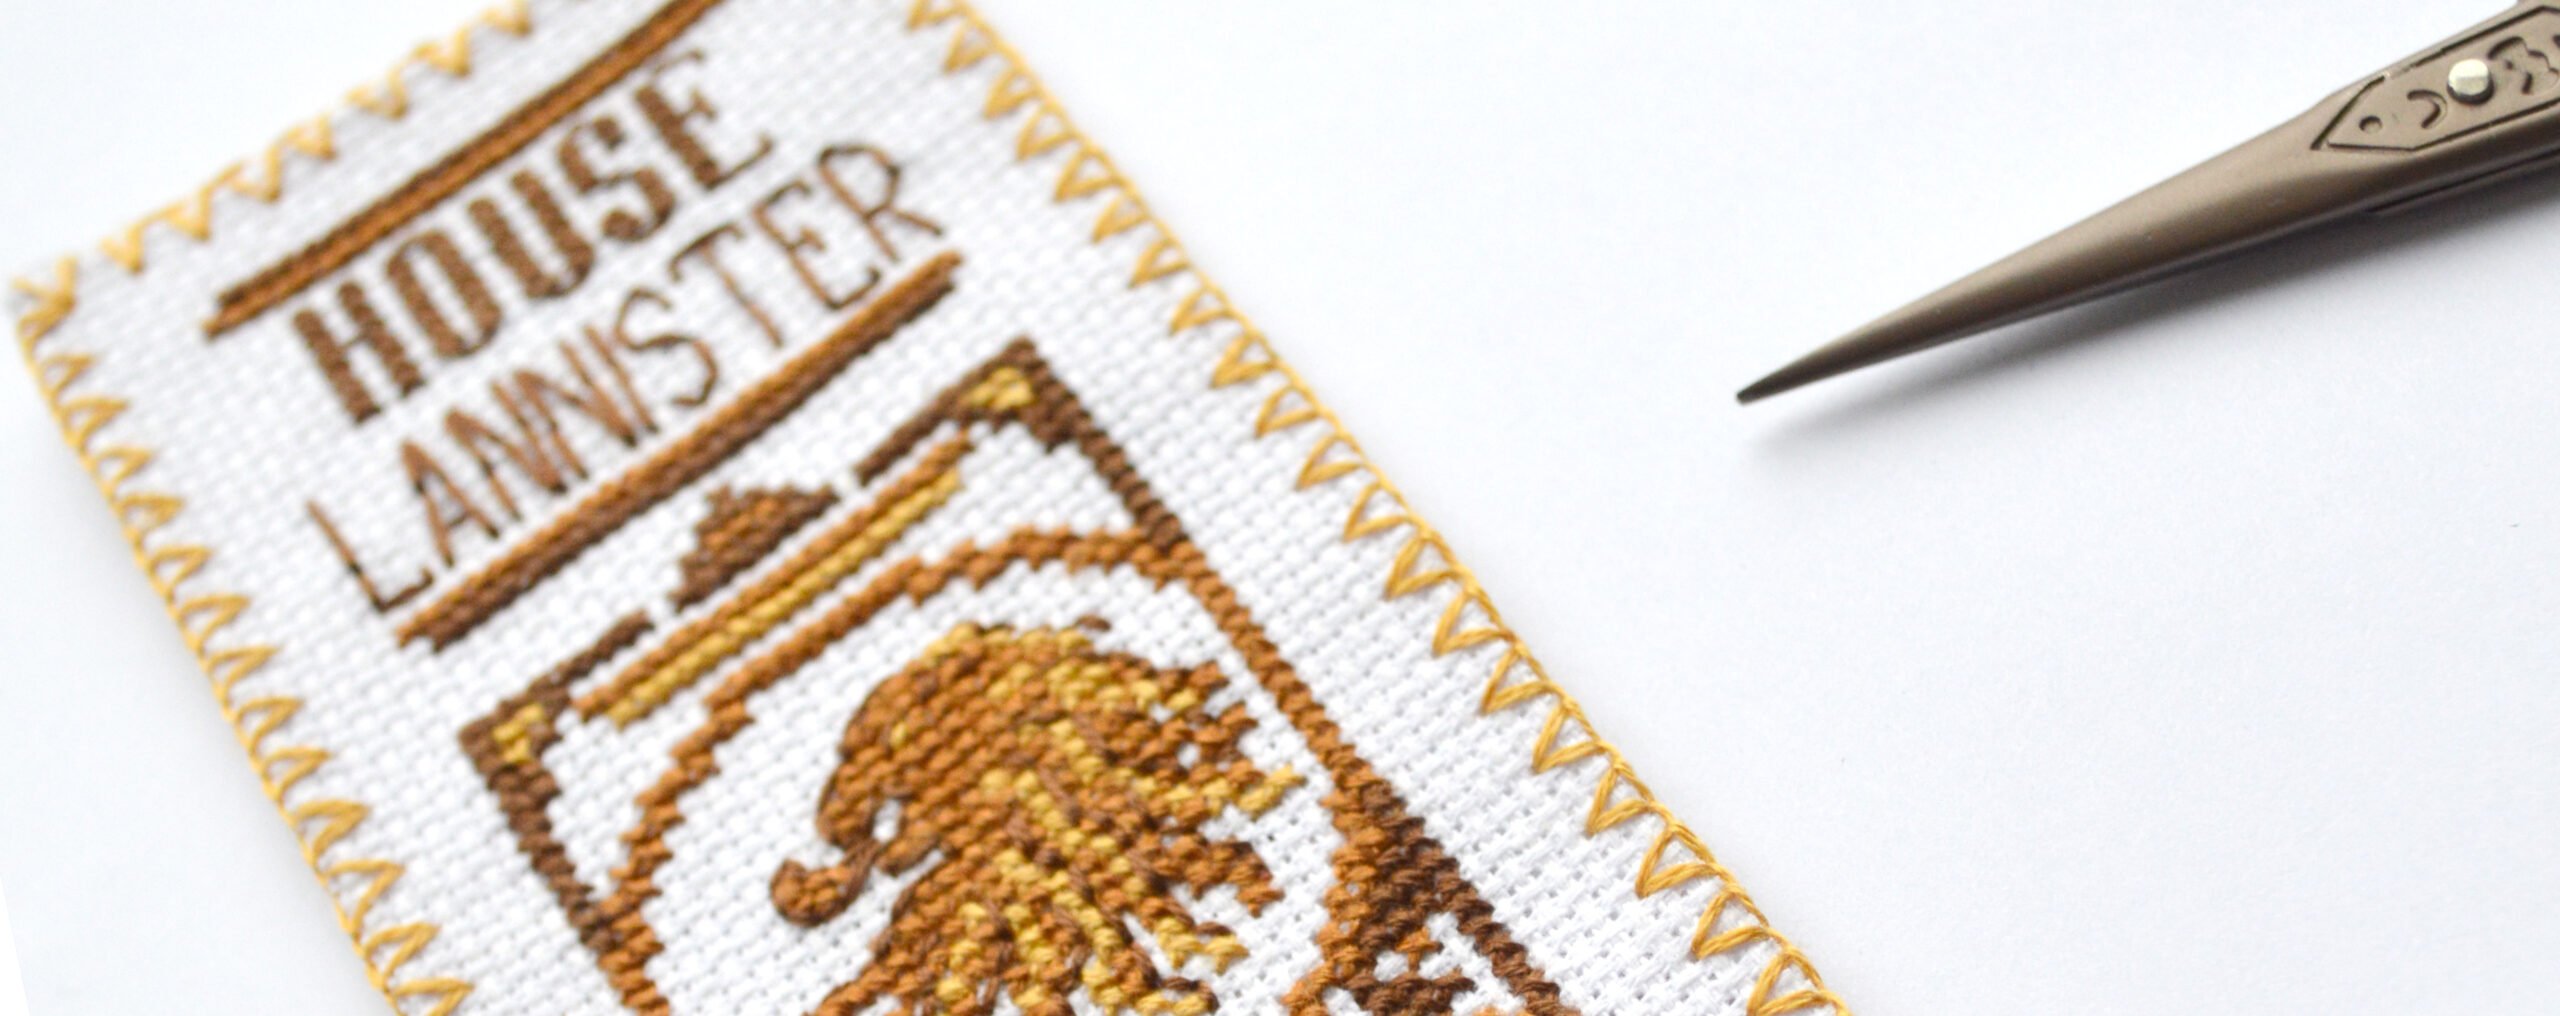
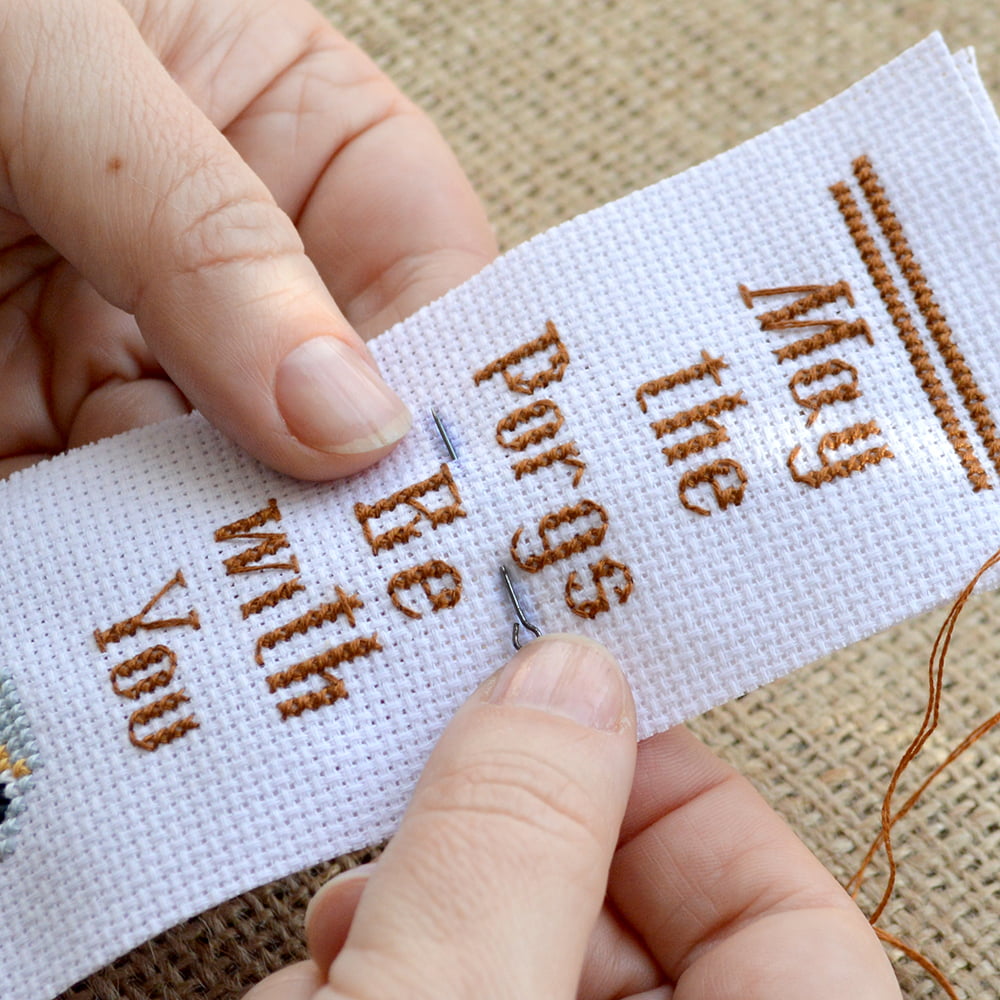
Do the cross-stitch part first. All the decorative seams should be embroidered in the end, after the cross stitch part has been completed
When done with the embroidery, go ahead and sew the bookmark together.
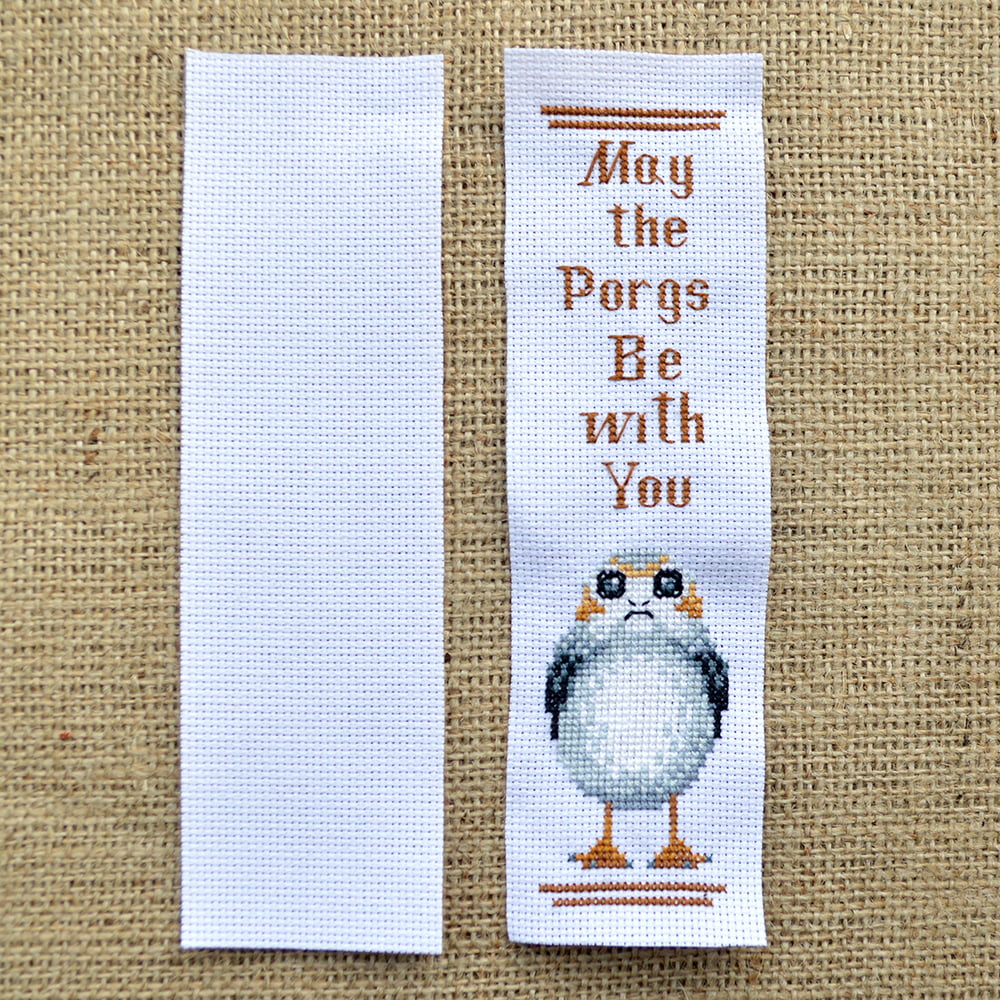
The second piece of canvas is used as the backside of the bookmark. First, attach the front side to the backside. Make sure they are equal in size. Align these elements accurately along the canvas cells where necessary.
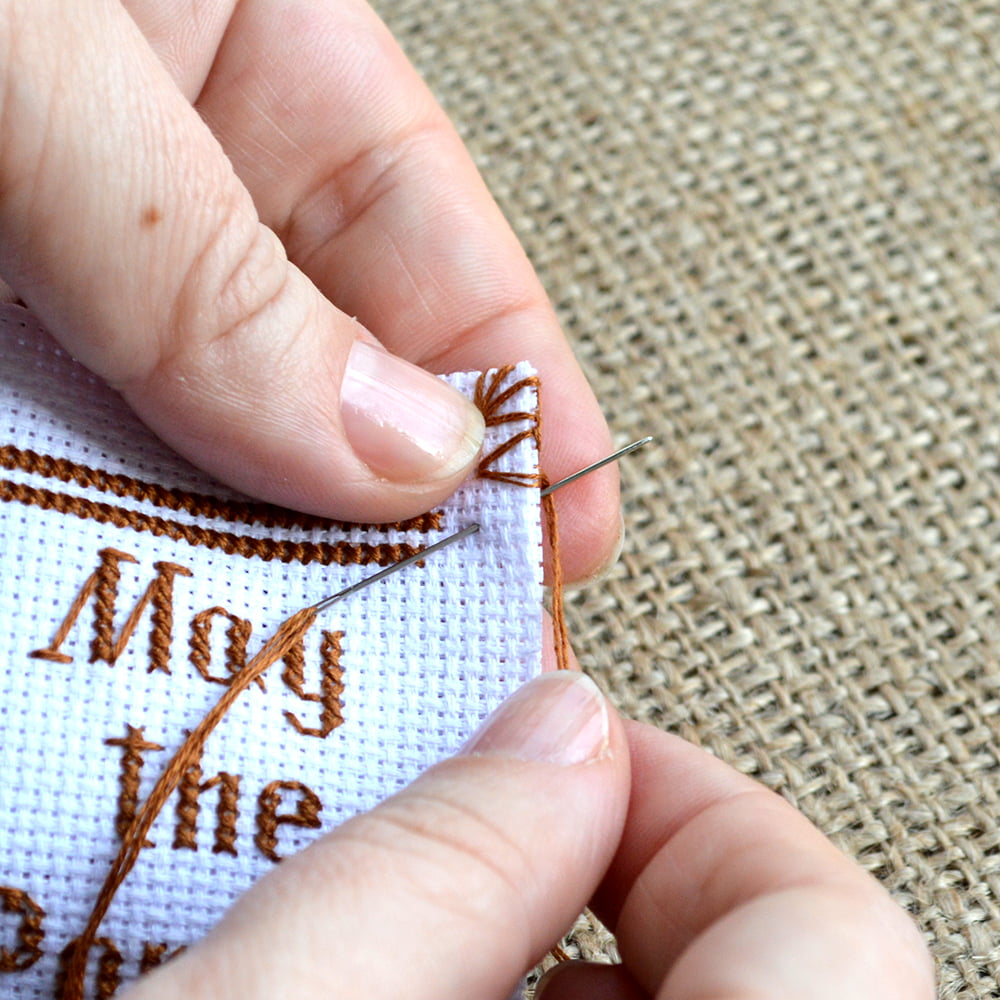
Use the buttonhole technique to sew the two parts together along their perimeter. This way, you will get a combo of a reliable seam and a decorative element. To keep the canvas from folding during the process, fasten both parts with one or two pins in the middle.
After the two long and one short side have been embroidered, you can put a piece of white cardboard in between. You can also use a sewing machine to sew the bookmark together with zigzag stitch, in which case be sure to use contrasting color thread for the seam.
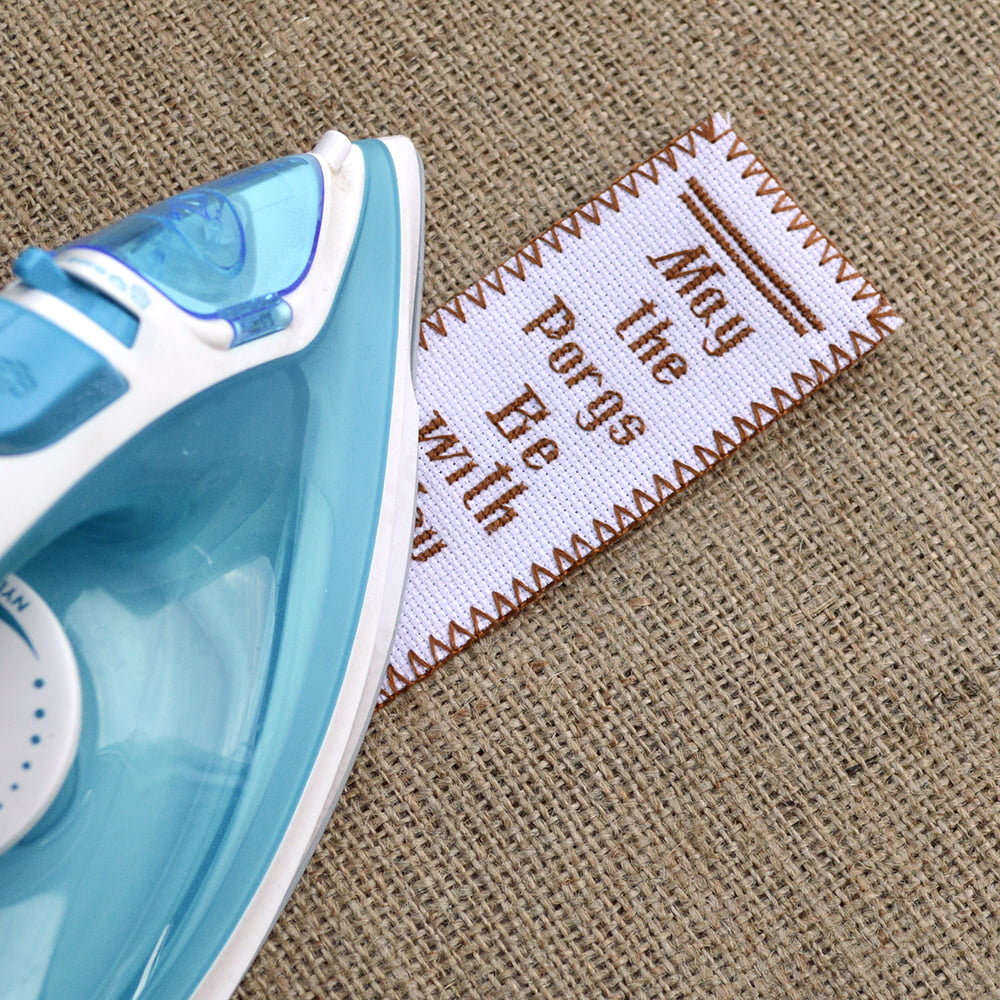
Now your bookmark needs proper ironing. Sprinkle some water on it. Iron the reverse side to, keeping the handiwork on a towel or any soft surface. Set ironing mode to Cotton. Take care that the embroidery is not bowing. Catch a break to let the moisture fully evaporate.
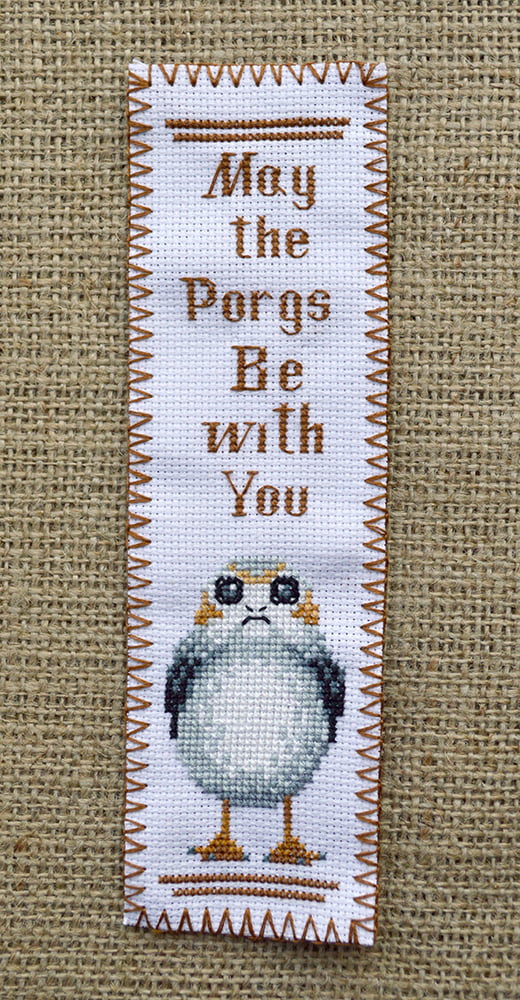
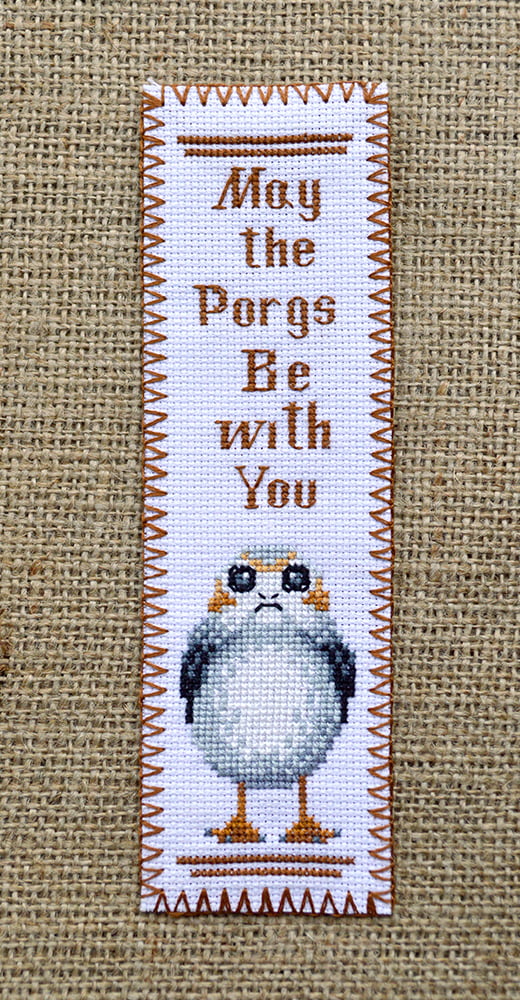
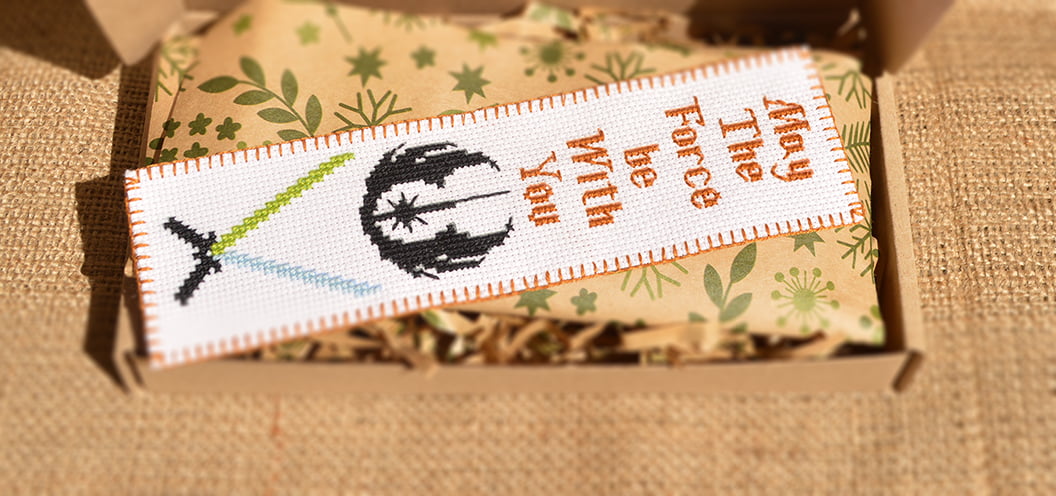
The bookmark is now ready!