The simplest stitches
The simplest seams are the basis of all types of embroidery. They are used for embroidering rushnikny seams, stitching, and winding rococo, are the main ones when embroidering ribbons and beads. And also from them you can make compositions that are used to decorate clothes. Finishing seams in the patchwork are widely used to mask and decorate seams. The simplest seams can also include finishing and edge.
Seam “Forward needle”
This seam is a series of stitches and passes of the same length. It is convenient to embroider on a canvas according to the count of cells. For example, one cell per needle and one under. By changing the size and position of the stitches of this seam, you can create a wide variety of embroidery for finishing napkins, towels and clothes. Stitches can be arranged in two or more rows – it all depends on the pattern. One of the seams “Forward needle” is the “Millet” seam.

Seam “Back stitch”
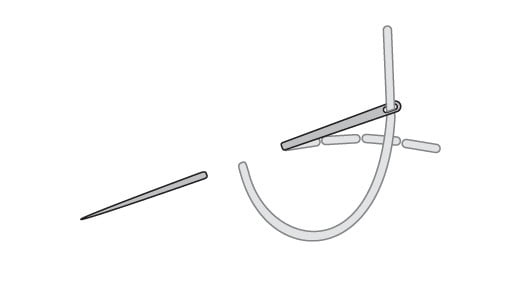
The seam “behind the needle”, “needle back” or the stitch seam is a continuous series of stitches. We fasten the thread, make the first stitch from right to left and skip one length, for example, equal to one square on the canvas. To execute the second stitch, we lay the thread from left to right. The needle is inserted at the same point where the first stitch ends, and we put on the front side 1 box to the left of the second stitch. Thus, the wrong side stitch will be twice as long as the front stitch. Seam stitches should be the same length.

Stitch seam
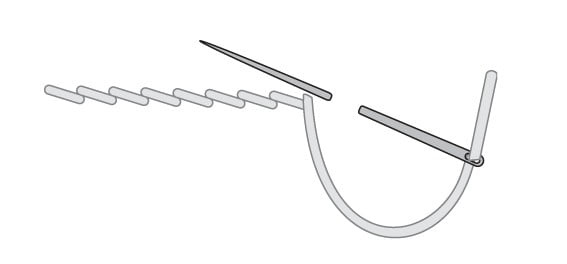
The seam forms a continuous row of oblique stitches tightly adjacent to each other. Having made the first stitch from ourselves on the fabric, we bring the needle and thread to the middle of the left side of the stitch, lay it to ourselves and press it to the fabric. Performing the second stitch, we make a puncture in the fabric above the first stitch, and we remove the needle in the middle of the second stitch on the left side. The seam is performed by moving the needle to ourselves. Each new stitch at the same time comes out half the previous one. When making a stitched seam, the working thread should always be on one side – to the right or left. It is impossible to change the direction of the thread, since this violates the structure of the seam. All stitches should be the same size.

Tambour seam
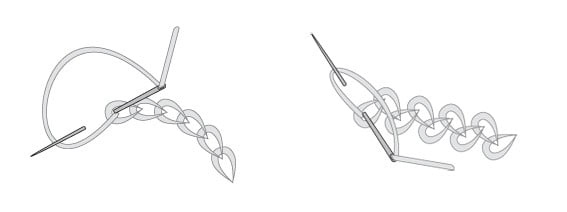
A stitch seam is a continuous series of loops extending from one another. The seam is performed from right to left. First, we fix the thread, bring it to the front side, loop it over, make a small stitch 3-4 mm long and take out the needle. The thread is tightened with a loop. Again, we throw the thread through the loop, we stick the needle into the point, from where we output in the previous stitch. This seam can be made in the form of a zigzag strip. Then the loops on the front side will be located alternately, then to the left, then to the right of the midline of the seam.

Seam “Worm”
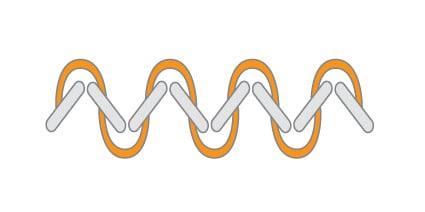
Perform from right to left in two colors of thread. A zigzag line is embroidered in one color. To do this, diagonally fasten the working thread diagonally from right to left, and get the first stitch. A needle is pierced from above into the first stitch and displayed in the lower left corner of the next square. Next, repeat the first stitch and so on until the end of the row. After completing the desired length, we embroider the missed stitch from left to right. We fix the thread of contrasting color with a loop from the wrong side and wrap the stitches.

Cross stitch
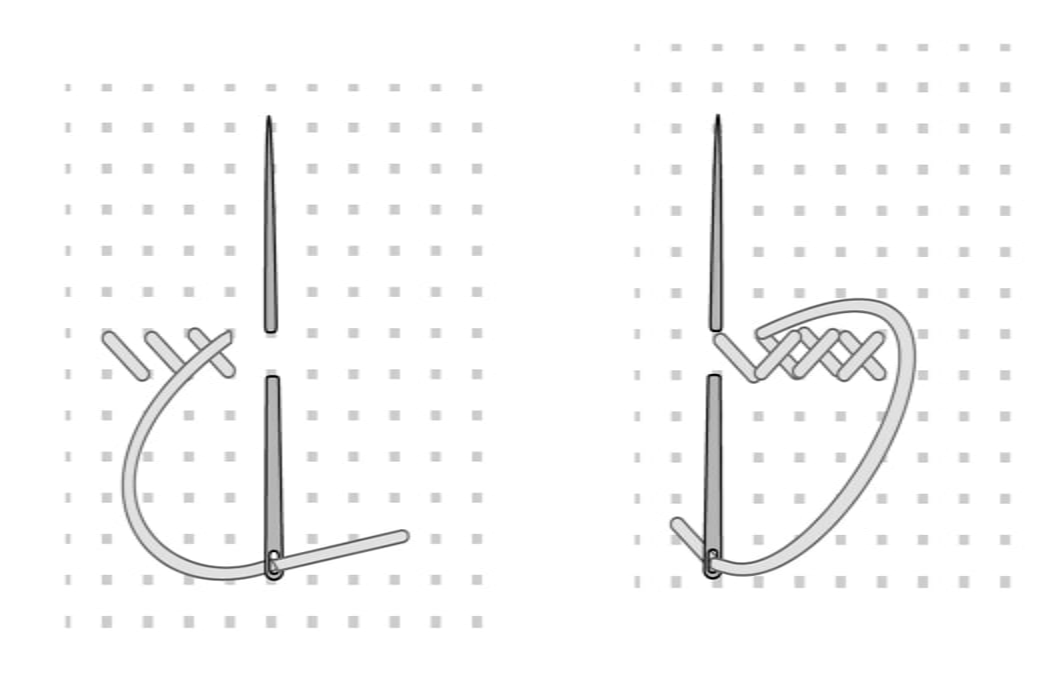
The stitch “cross” represents two crossed stitches. When performing it, it is necessary to ensure that the upper stitch is directed in one direction. Having fixed the double-folded thread, we bring it to the front side and make a stitch from the lower left to the upper right. We carry out the necessary number of semi-cross stitches. Then close the semi-crosses with a stitch from the upper left to the lower right. From the inside, horizontal stripes are obtained.
Seam “Goat”
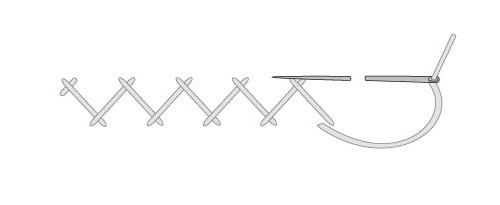
We place the stitches from left to right, making punctures in the fabric alternately along one and the other edge of the strip. The distance between the punctures should be the same. In the middle of the strip, the stitches intersect. Each new stitch rests on top of the previous one. Small stitches, flower cores are embroidered with this seam. Smooth seam strips are used as an addition to large, complex embroideries, as well as to mask seams when connecting pieces of fabric.

French knot
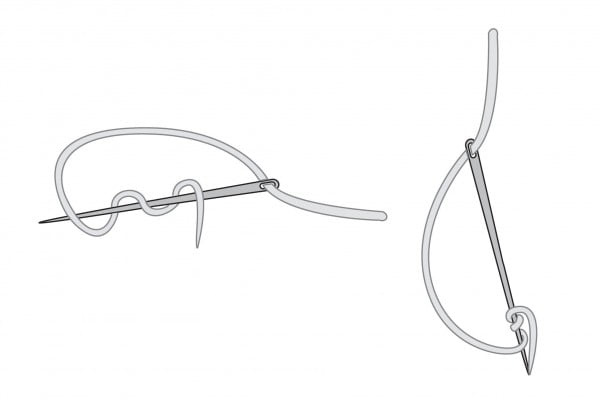
The French knot seam is used as a decorative element in cases when the cross of this color is very large. And the French knot – just right.
Buttonhole stitch
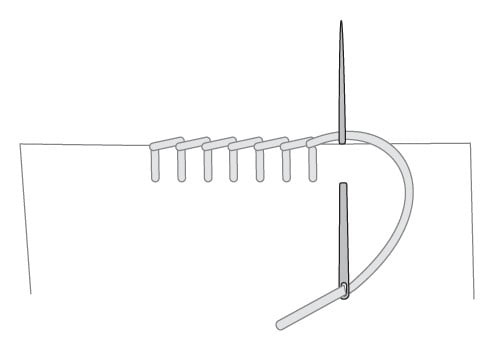
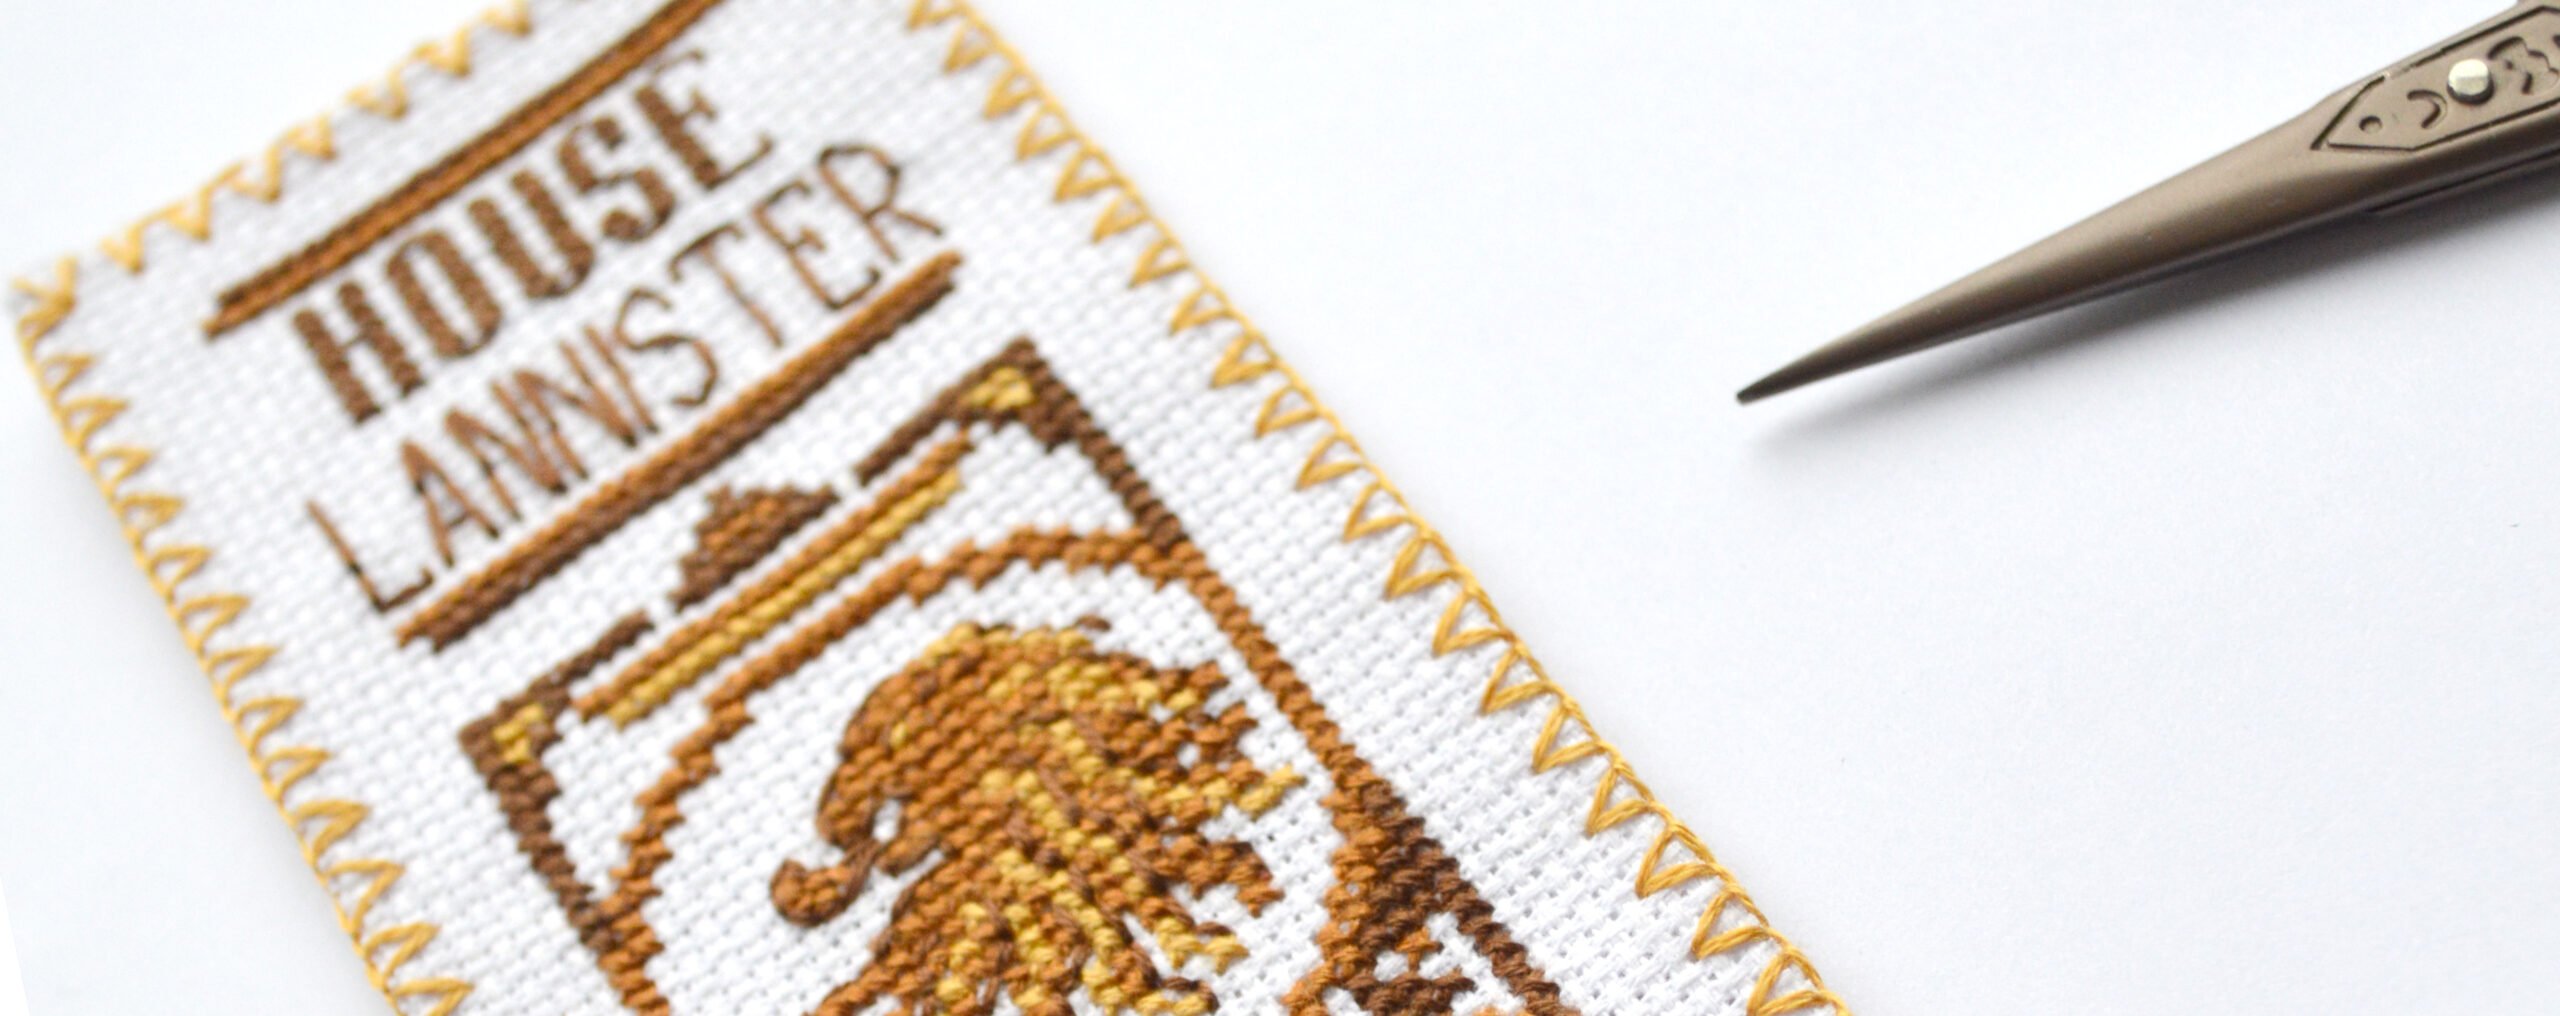
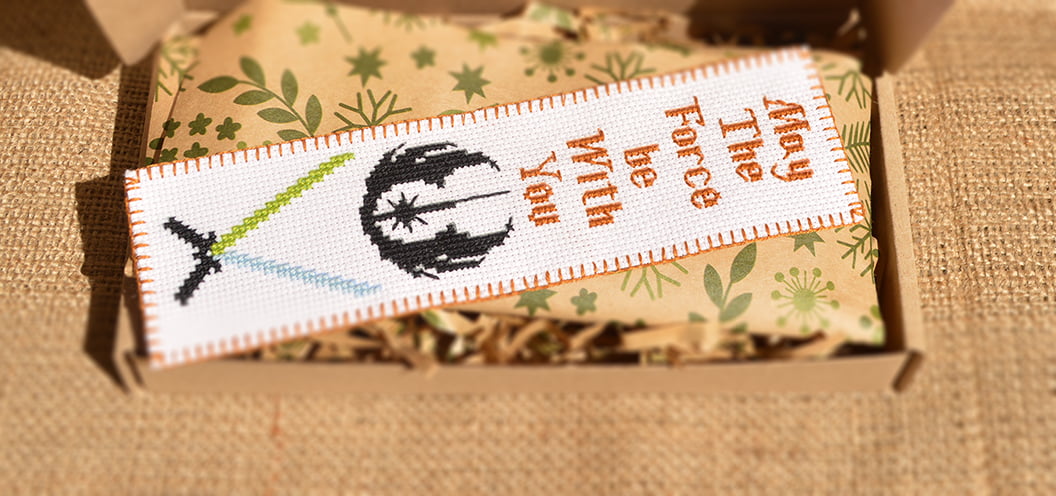
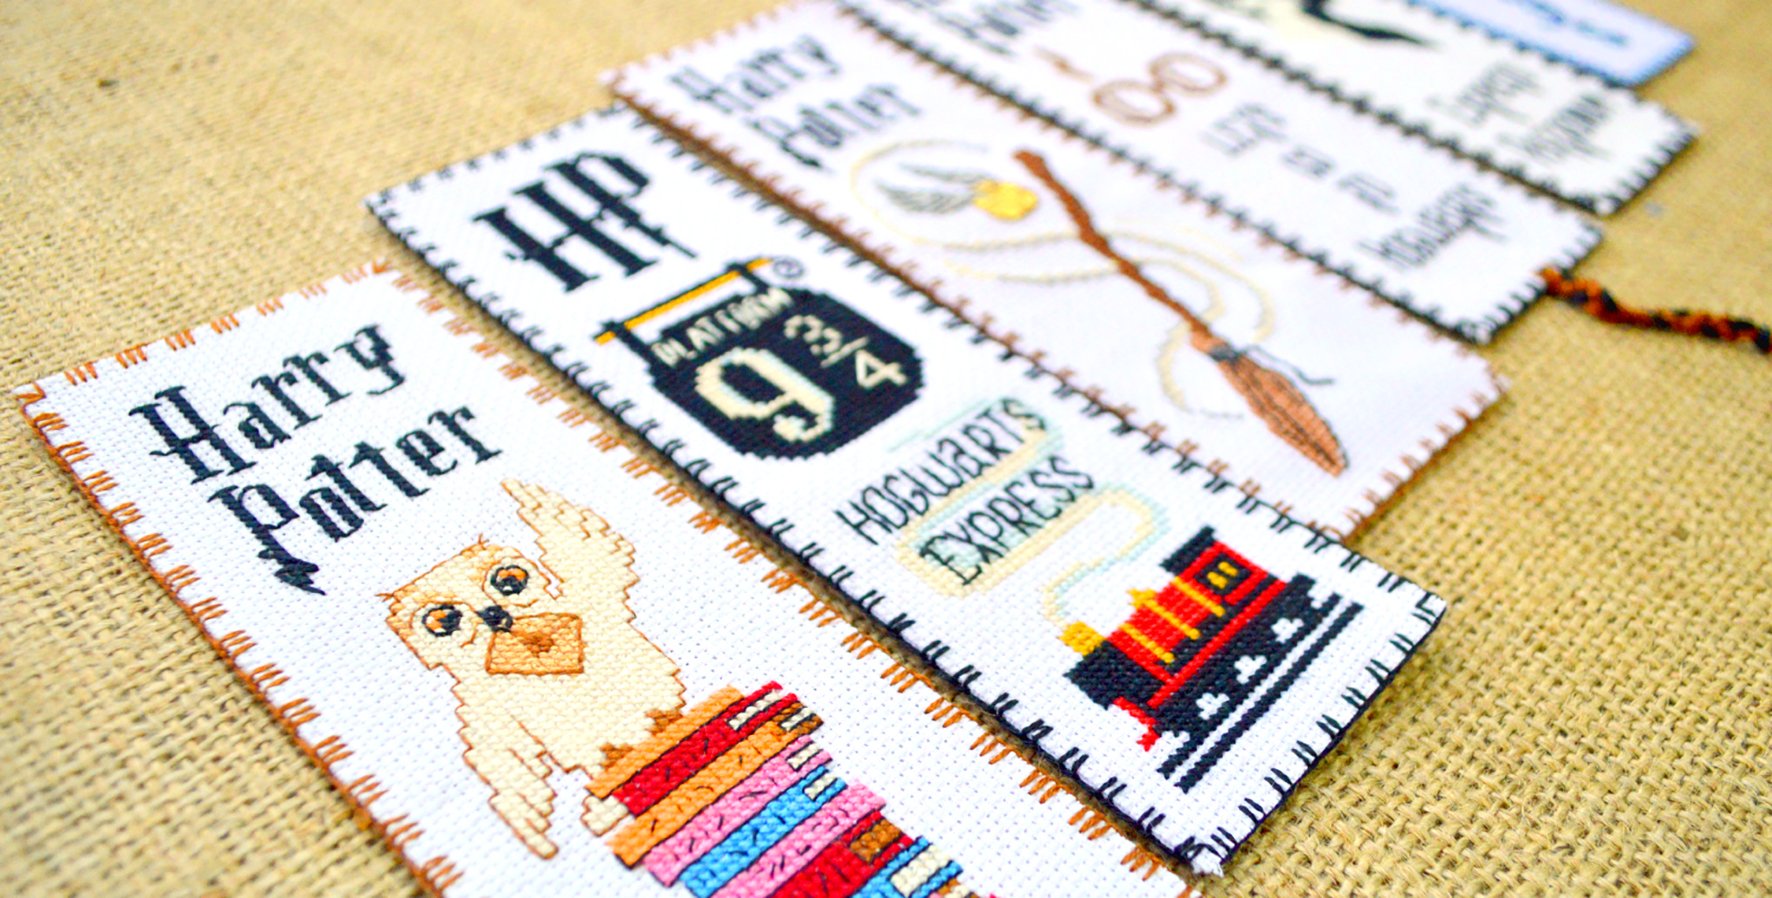
The buttonhole stitch refers to the edge seams. It can be used in the decoration of both embroidery and knitwear. Here are the main types of buttonhole stitches that will help you with your work. Before proceeding with the stitch seam, gently twist and sweep the edge with a “needle forward” seam. We fix the working thread in the middle of the hem and bring it to the front side under the hem. Then we direct the needle up and from right to left we wind it under the working thread, we get the first loop. We also carry out the following stitches, we place them at the same distance from each other.
